Preparing your Xcode Project for Localization
Adding a second language
Let's assume you're almost ready to ship your app and your manager tells you that it needs to support an additional language (or more likely, 10 additional languages). Don't panic - it's easier than it sounds. To get started, we'll add an extra language (German in this example).
Open your project in Xcode, select the project in the Project navigator, and then the project in the editor pane.
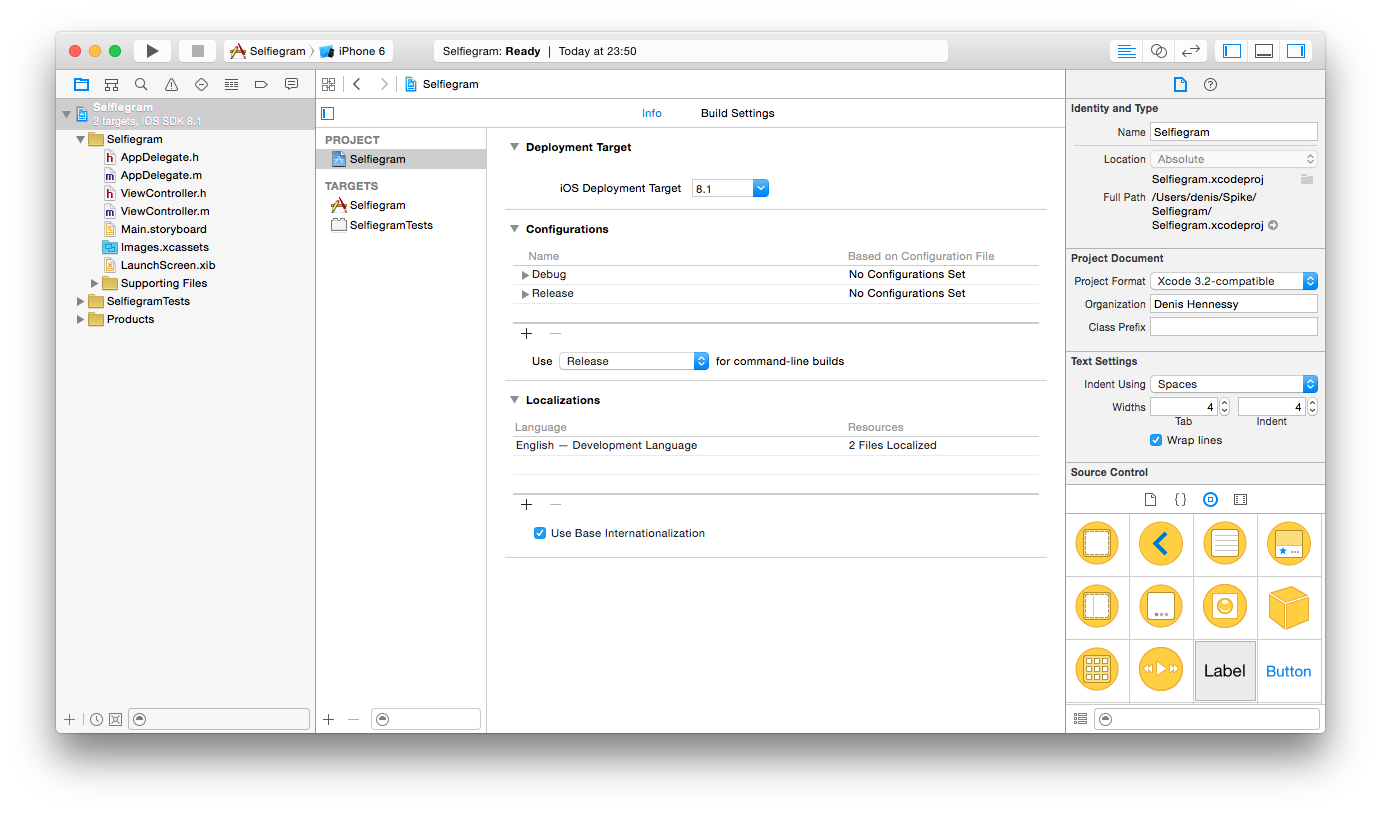
Notice that in the Localizations section, there is only one language and Use Base Internationalization is checked. Click the + button and choose German (de).

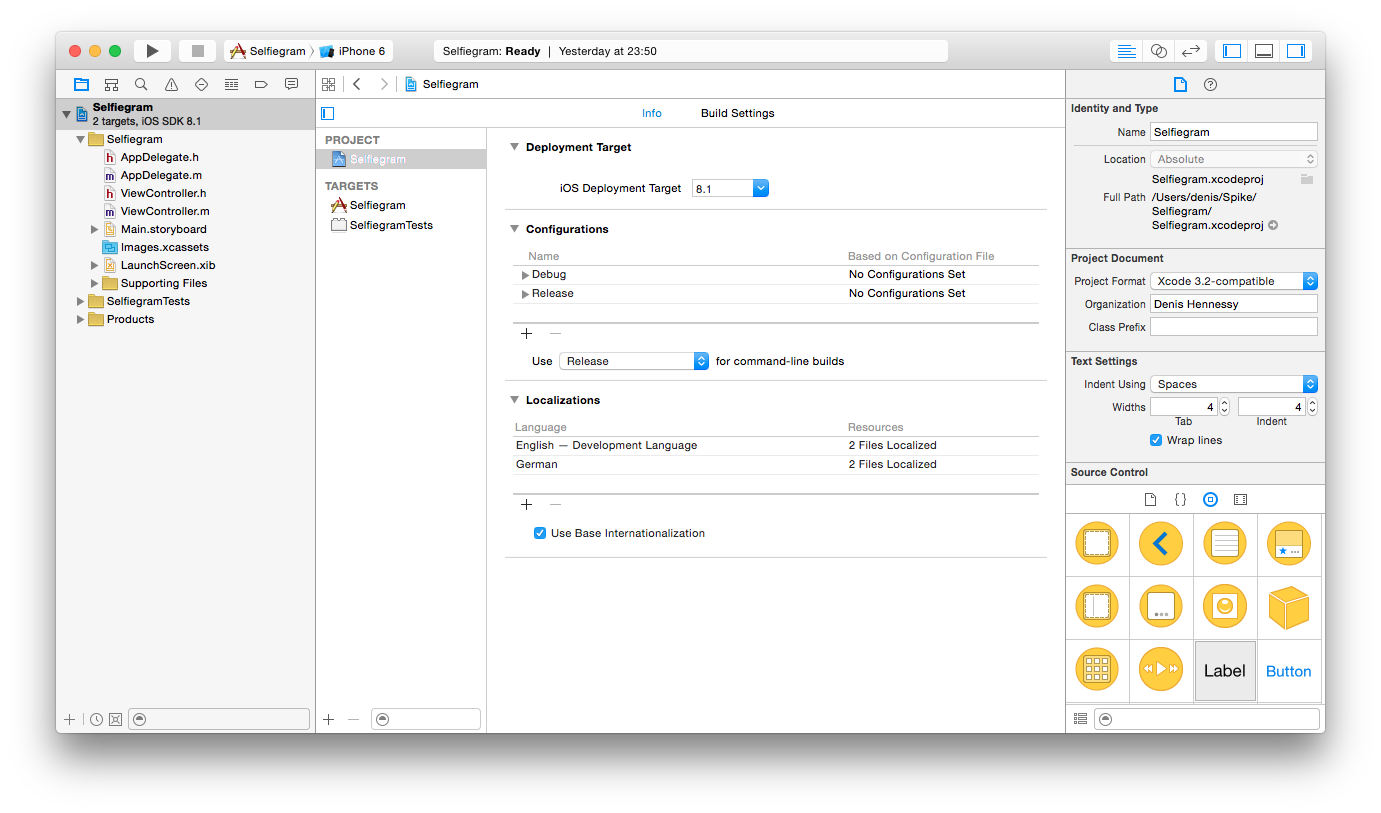
Leave all the resource file checkmarks in place and click Finish. Notice that German is added as a project language, and the Main.storyboard and LaunchScreen.xib files have disclosure triangles next to them.
Adding a .strings file for text in code
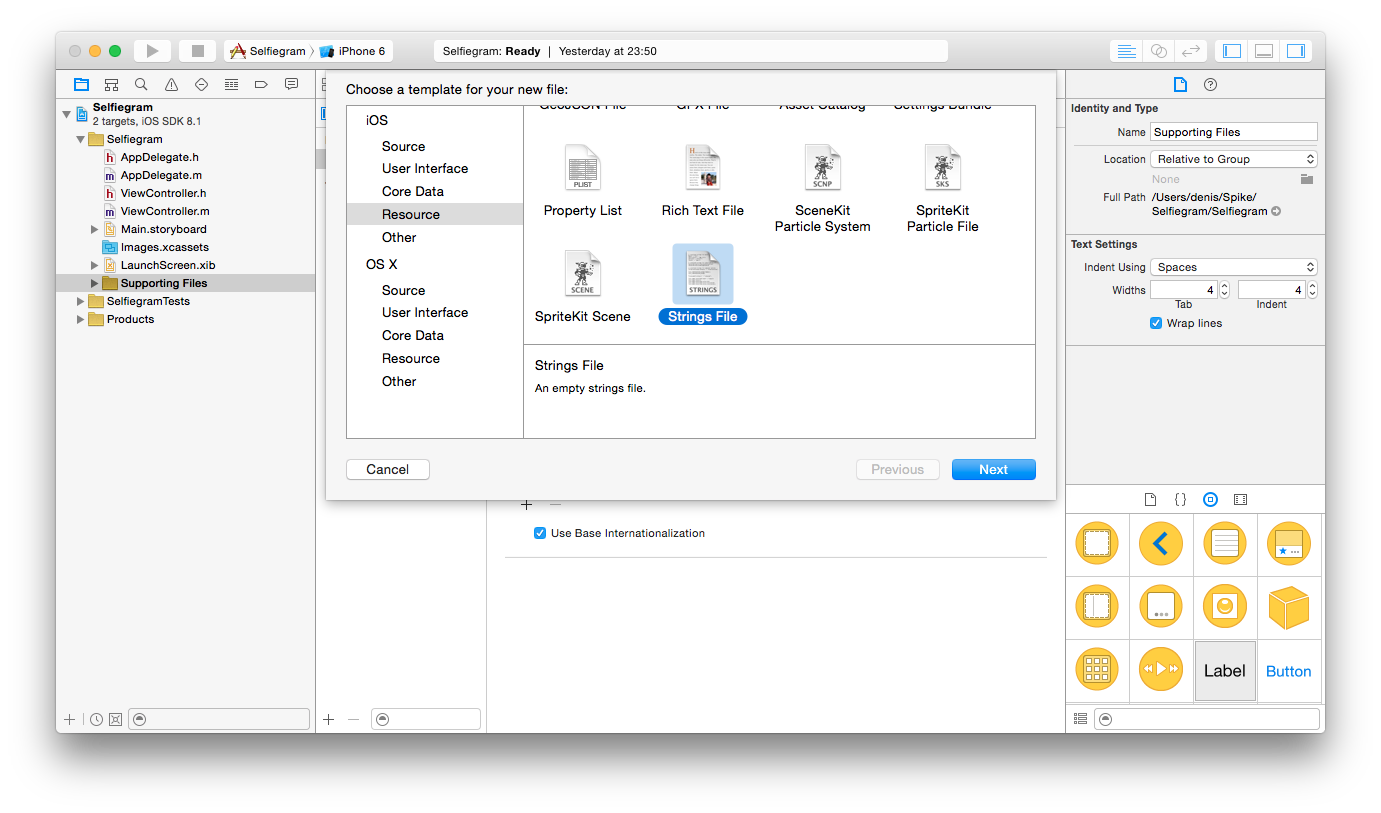
Right-click on Supporting Files, choose New File… and select the Strings File template from the Resource section.
Name the file Localizable.strings. Select the file in the Project navigator and ensure the File Inspector is open.
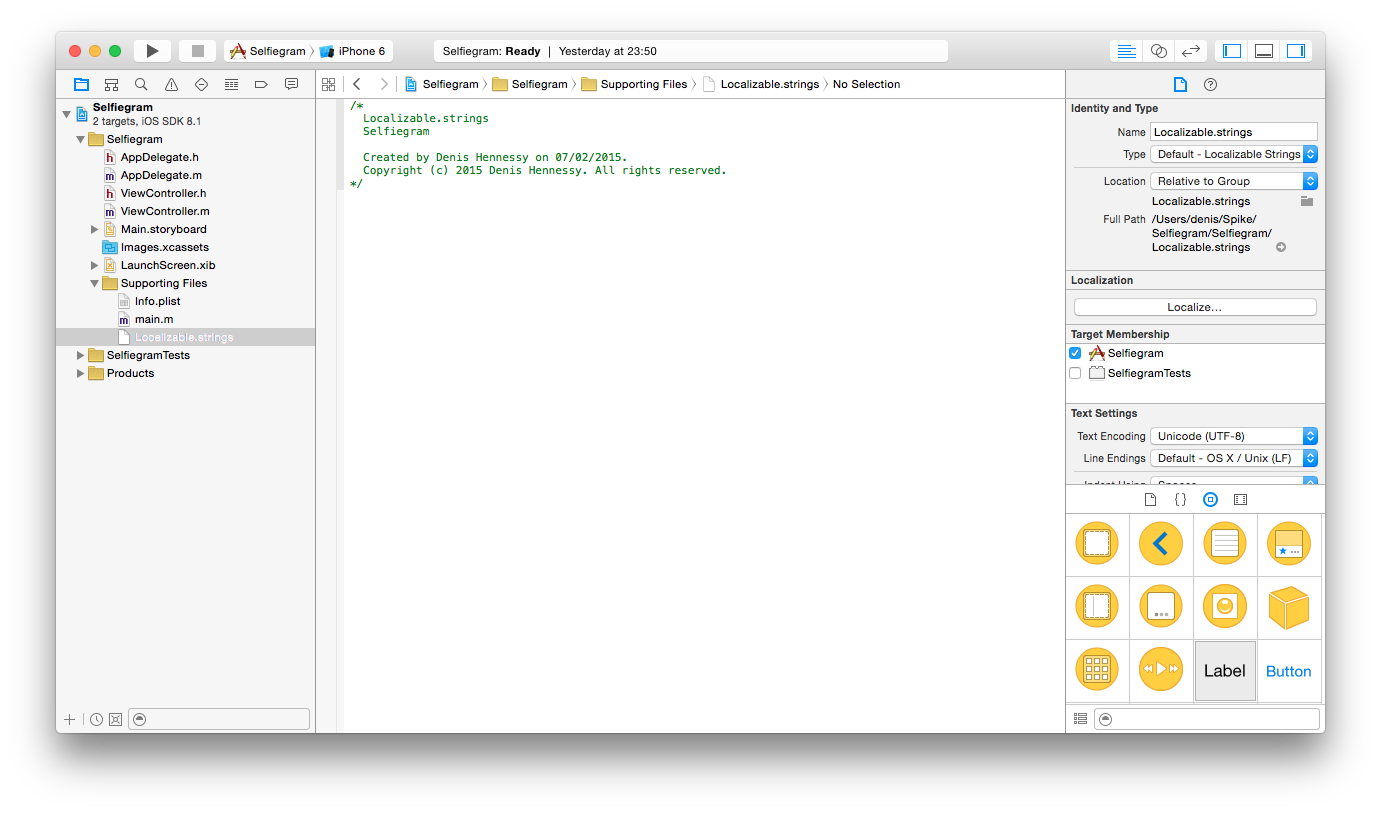
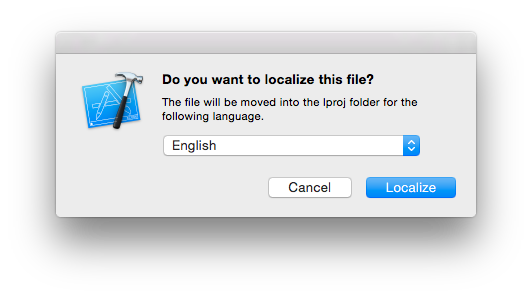
Notice the Localize… button. Click it and choose English. Then click Localize.
The file inspector for Localizable.strings will now show what languages localizations are used. Click the box to the left of German.

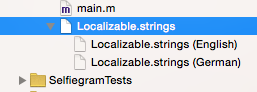
If you click the disclosure triangle to the left of Localizable.strings, you'll be able to open either the English or German versions of this file.